I finally got around to finishing off my Bruton project. I'm pretty happy with the end result however I am still having a lot of trouble with render passes in 3ds max so I didnt complete as much post production as I would have liked. I'm really happy how the lightning turned out in the end though

I learnt a lot about lighting in this project so I'm sure that will help a lot with future renders!

Heres the first render, i'll render out a few other shots once I can suss out the render passes properly.

Full resolution pic here 


Over the past month or so I've continued working with Unity3D or more specifically designing some low-poly characters for use in the Unity3D game engine.

Low poly modelling as its own challenges where I need to keep the total poly (triangles) down for best performance but still want to retain detail.

I've also learnt a massive amount over the past couple of months about hand painted textures, and I've definitely learnt a new respect for texture artists that achieve some amazing results through hand paint textures.

A great resource for all things 'game art' is www.polycount.com make sure you check out their wiki site if you are curious about any area of game art creation!

So below are a couple of screenshot! Proof i've still been doing something in the 3D art realm, even though my blog updates have been poor :P

On to rigging and animation of these characters next!

Low Poly Wizard ( Yes I know he's naked)


Hand Painted Wizard Texture


Low Poly Goblin


Hand Painted Goblin Texture


Its been a while since my last post (keeping a theme going there I think)

I have also been a little distracted from my Bruton project as I started exploring Unity 3D with the possible thought of creating a mobile game.

For those who are unaware Unity 3D is a development engine for 3D games and is particularly well known for success in the mobile game scene.

I've spent the last two weeks learning the basics of the Unity platform and more specifically how best to setup a pipeline between 3ds Max and Unity.

I have now created an animated character, with 3 animation clips built using the 3ds max biped system.

I then built a simple scene in Unity for the character and complied the project in the Unity web-player.

You can view my scene and the 3ds max character asset from the link below...

Unity 3D Web-player

I've been lucky enough to have the past couple of weeks off from my day job, so I was able to get in some good time with my 3D work! I have now completed the modelling for my Bruton project and I have also linked the model ready for posing.

I took my time with this model a lot more than I have done in the past, which resulted in me 'redoing' some sections of the model that I wasn't happy with. Its not perfect, but it is definitely the most complicated model I have created thus far!

Here are some WIP screenshots.

Head

Full Model


Test Pose


Its now onto UVW Unwrapping and texturing.

Its been a while since my last post, as are my posts really...few and far between! But never fear my life has been full of 3D!!

I've started on a new project, I wanted to experiment with hard surface modelling in 3DS Max and I also wanted to have a crack and create a character that I could then rig!

So lots of new concepts to research and learn on this one!

My inspiration for the piece comes from one of my favorite cartoons of my childhood! Astroboy!!

There is an a 2 part episode called 'Greatest Robot in the World' and it stars one bad ass robot called Bruton!!

So my project will be an adaptation of that character. Below see some WIP shots!!

Bruton in all his 80s Anime glory


WIP #1 - Arms and Chest


WIP #2 - Legs and Hips 


So I completed the my first Zbrush project and even though I did not expect to create a polished render at the end of this learning exercise I'm really happy with the outcome. I learnt a great deal about sculpting, poly painting and even post processing in photoshop.

Here is a run down on the workflow I went through to get to the final render

1. zSketch Concept

Using zSpheres and zSketch I drew out the basic module I was looking for. It was originally going to be a Chinese dragon, but it evolved into a snake.
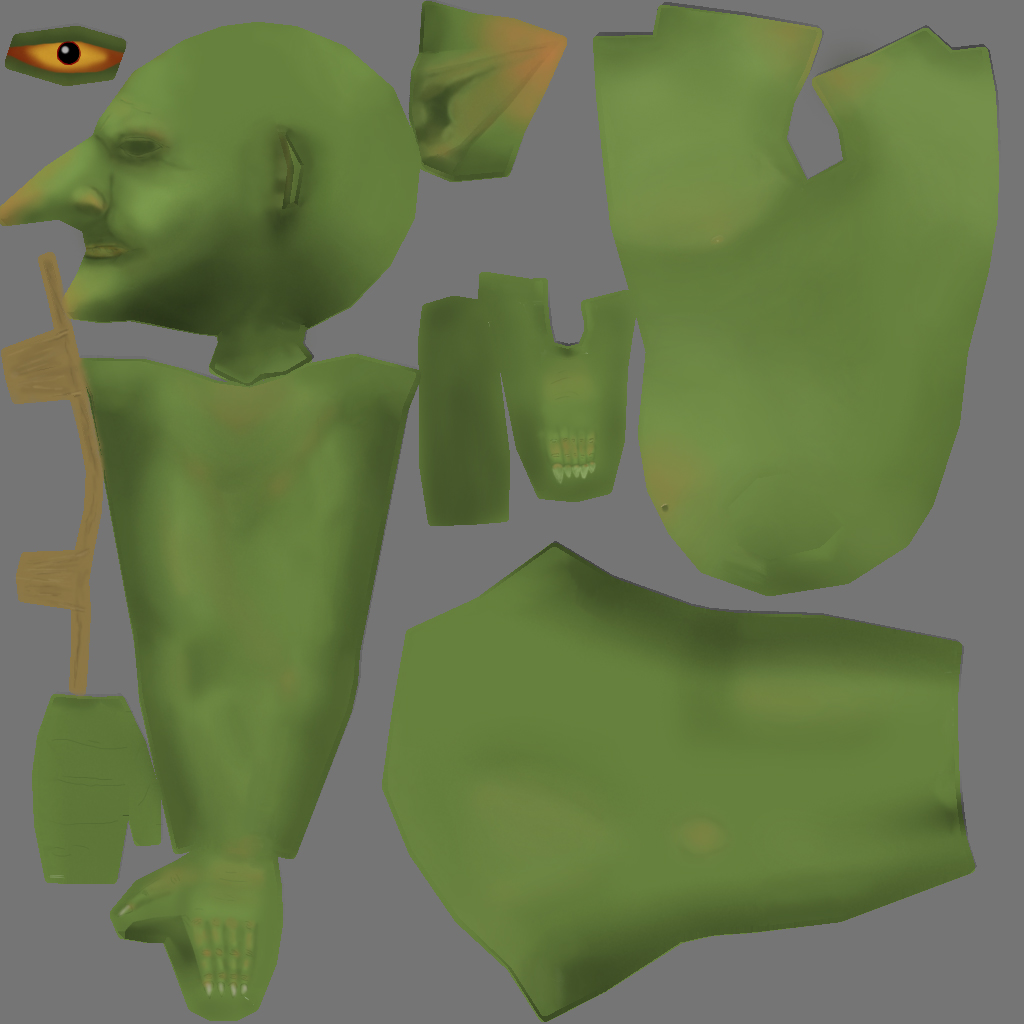


2. Sculpting Phase

From here I created a skin for the zSketch and began sculpting. I mainly used the brushes Move, Dam Standard, Smooth and Standard. I also used the insert mesh and dyna-mesh feature to allow me to add the teeth and tongue, which I sculpted separately.


3. Adding Details

Next I continued to add more details and created a scales brush to add the scale details, I also used appended two subtools for the eyes. You can see below a couple of different scale patterns I tested on the snake,


4. Poly-Painting and Rendering

Next I began to paint the model, firstly but creating base layers then adding more colours and details as I progressed. I then output a couple of test renders at various stages to see some lighting effects and how the colours would look. It was here that I decided to run with the fire snake theme.


4. Post Production

The final step was to do some post production working photoshop. I had never done any extensive post production work before so this was a great learning experience. In zBrush you can render out various passes, when is great for then importing into photoshop. Below you can see a specular pass. I also added the fire and heat effects in photoshop. The final render is shown below.


I've slowing been churning through the 'Intro to Zbrush' book, which I am getting a lot out of. I found a lot of good information on the creation of brushes and alphas and I subsquently spent ALOT of time mucking around with scales for my snake sculpt, which has now become my main project for learning the techniques in the book.
I now consider the sculpting part of the model complete and I will be moving onto poly painting and materials in the final chapters of the book.
Hopefully in the end I should have a fairly decent render of my snake!

Here are some WIP shots, i'm running with the 2nd scales version!

Making Scales Alpha 


Snake with scales version 1


 Snake with scales version 2


Next PostNewer Posts Previous PostOlder Posts Home